

-
 Copied
3D printing – what is 3D printing and how does a 3D printer work?
By definition, 3D printing is a technology for producing physical, three-dimensional objects previously designed by computer technology using a 3D modelling tool. There are many different ways in which this process takes place, as well as many materials from which we can print in 3D. If you want to find out more, please keep reading.
What is 3D printing?
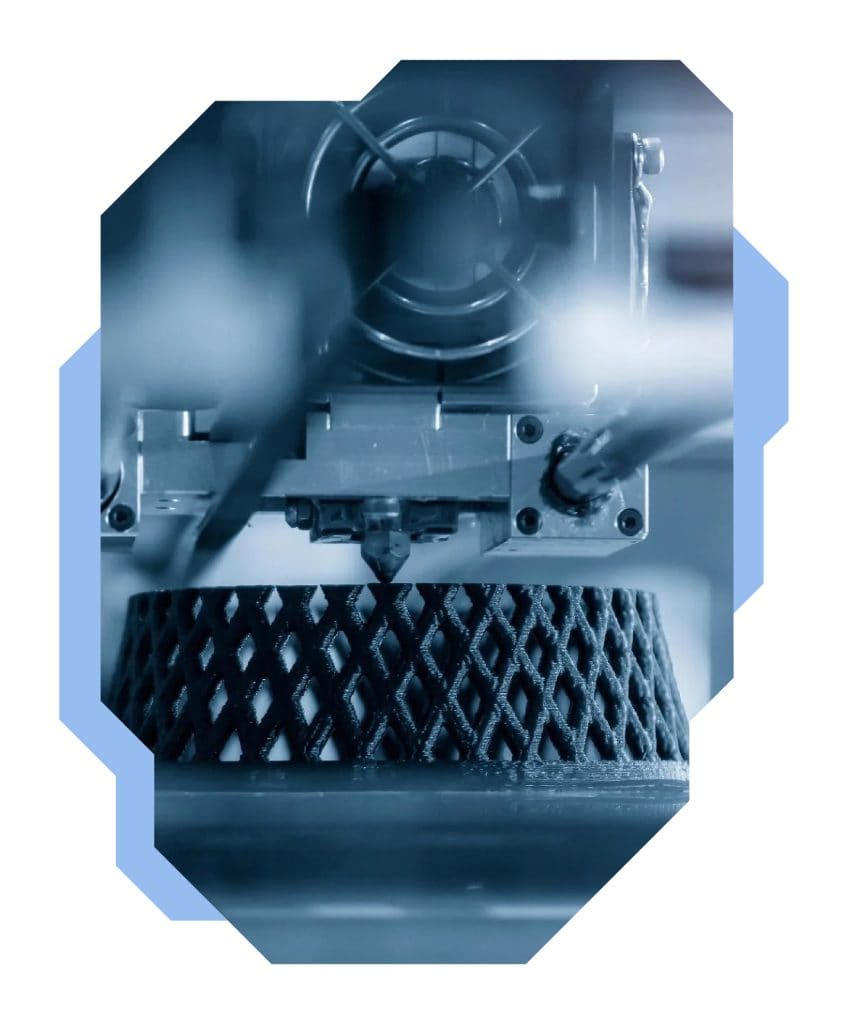
As we mentioned in the introduction, with 3D printing technology we are able to produce physical, three-dimensional solids. This is because 3D printing technology is able to apply layer upon layer of material, called filament, to a 3D printer in line with a 3D model chosen. This is because, by applying a high temperature, the material is melted, allowing the machine to spread it quite accurately. With special computer software, it reads precise instructions on where to place successive filament portions on the print bed where the printout is produced. By adjusting the height of the print bed and the position of the material dispensing nozzle, a precise 3D printout is formed. At the same time, the material solidifies quite quickly, and we get a finished, quite durable (depending on the parameters, of course) object.
What is the history of 3D printing?
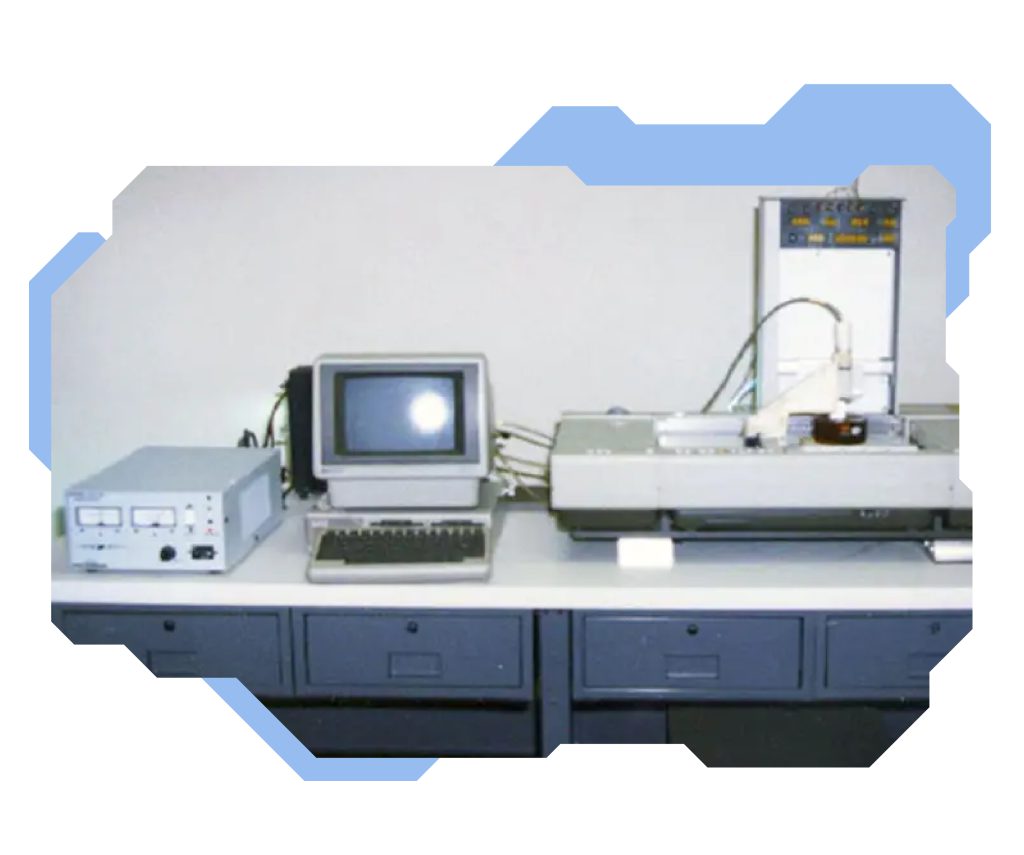
The first 3D printing technique was stereolithography, developed in 1984 and patented in 1986 by Chuck Hall. Stereolithography is an industrial process for manufacturing prototype parts based on photopolymerisation. Yes, it is a complicated process, fortunately the operation of 3D printers that reach schools is not that difficult to explain, but more on that below. Hall founded the first company to commercially manufacture 3D Systems printers. It was there that the specific .stl file format that we use to create the gcode file was developed. This too may sound incomprehensible, but a gcode file is nothing more than an instruction from a computer to a printer, so that the printer knows exactly where, when, and how much material to apply to the print bed. In case of 3D Skrinter, this process is automatic with the integrated slicer featured at Skrimarket platform. Another 3D printing technique applied in such devices as 3D Skrinter, for example, is the technology of the so-called additive manufacturing, FDM – Fused Deposition Modelling or FFF – Fused Filament Fabrication, these terms can be used interchangeably. The technique was developed by Scott Crump in 1988. In 1992, SLS printing technology – selective laser sintering – was developed at the University of Austin USA. In this case, the powder material is liquefied and then re-sintered using a laser. It is a printing technology that provides greater precision and flexibility than FMD/FFF but requires more specialised expertise, devices, and suitable conditions as it involves a laser. The first 3D printer designed for home use was created in 2006 by Adrian Bowyer. And did you know that in 2015, Skriware also started off by producing 3D printers for home use? Nowadays, 3D printing technology is gaining tremendous popularity and is being applied in many areas, more on which below.
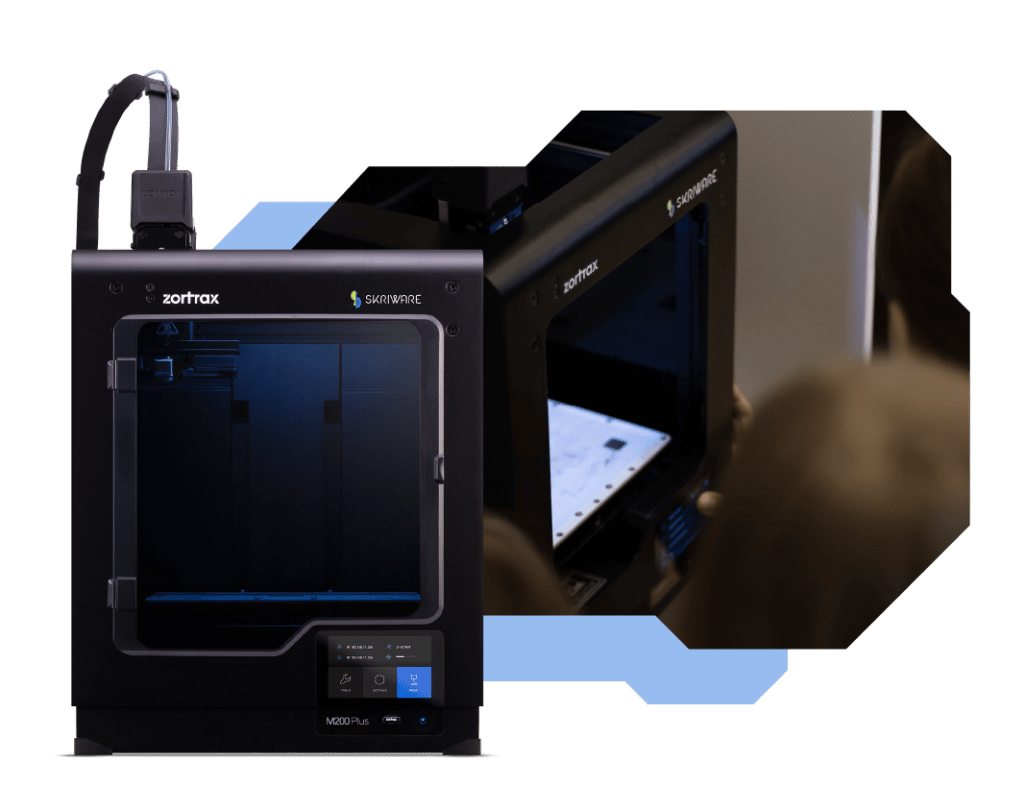
3D printer design – what components does a 3D printer have?
Every 3D printer operating in FDM technology is built from several basic modules, each of which has a specific function.
- Print head – the component designed to melt the filament and then precisely “deposit” it on the currently printed layer of a formed model – hence the name of FDM technology (fused deposition modelling). With a thermistor (thermal resistor), the temperature of the head is precisely controlled, and additional fans are fitted to allow adequate cooling of the produced model. The print head in Skrinter 3D moves on the X/Y axes and is integrated with the extruder.
- Extruder – designed to precisely uptake the filament from the spool and feed it into the head. The extruder controls the speed of the filament coming out of the head, which must be precisely aligned with the speed of its motion.
- The working platform – otherwise known as the print bed, is the surface on which the printout is produced. When a given layer is finished, the platform lowers, thus creating space for the next layer – it therefore controls the Z axis of the 3D printout. The working platform needs to be calibrated so that its distance from the head is the same at each point. With Skrinter 3D, this process is automatic, simplifying its operation considerably. In addition, the working platform is heated, which prevents the model from deforming or becoming detached from the print bed.
- The guiding system with stepper motors – a set of components designed to ensure correct positioning of the head and the working platform. The quality of printouts depends very much on the precision of the motion of the printer’s elements. Both the head and the print bed move on guides driven by stepper motors and toothed belts.
- Control panel – for 3D Skrinter, this is a touch screen to control the printer. It displays all the key information, connects to the Skrimarket service, launches printing, previews progress, calibrates and maintains the printer.
- Housing – a structural element designed to protect internal parts and provide a rigid base to which individual modules are mounted.
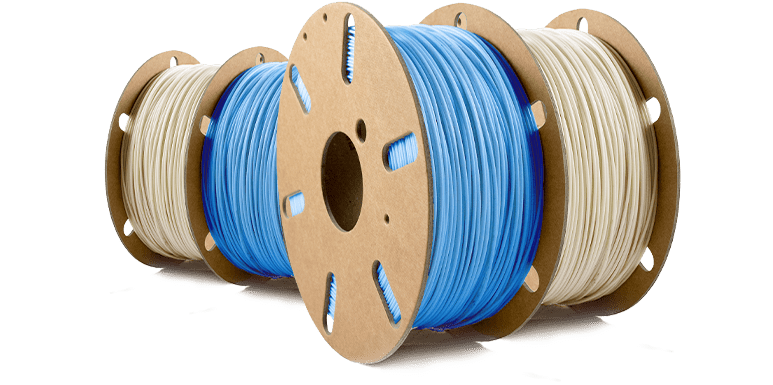
What is the filament?
The filament is nothing more than the material from which a 3D printout is formed. Just as in a traditional printer we insert ink, in a 3D printer we supply filament to the nozzle and the print head. There are different materials we can print from: plastic, metal, wood and even glass! However, for 3D printers used at school, 3D printing from a variety of plastics called PLA is usually recommended for ease of use and safety reasons. Interestingly PLA is a polylactide, a polylactic acid, biodegradable thermoplastic polyester made from renewable resources. It is completely non-hazardous to health and can even be used to print items for food storage.
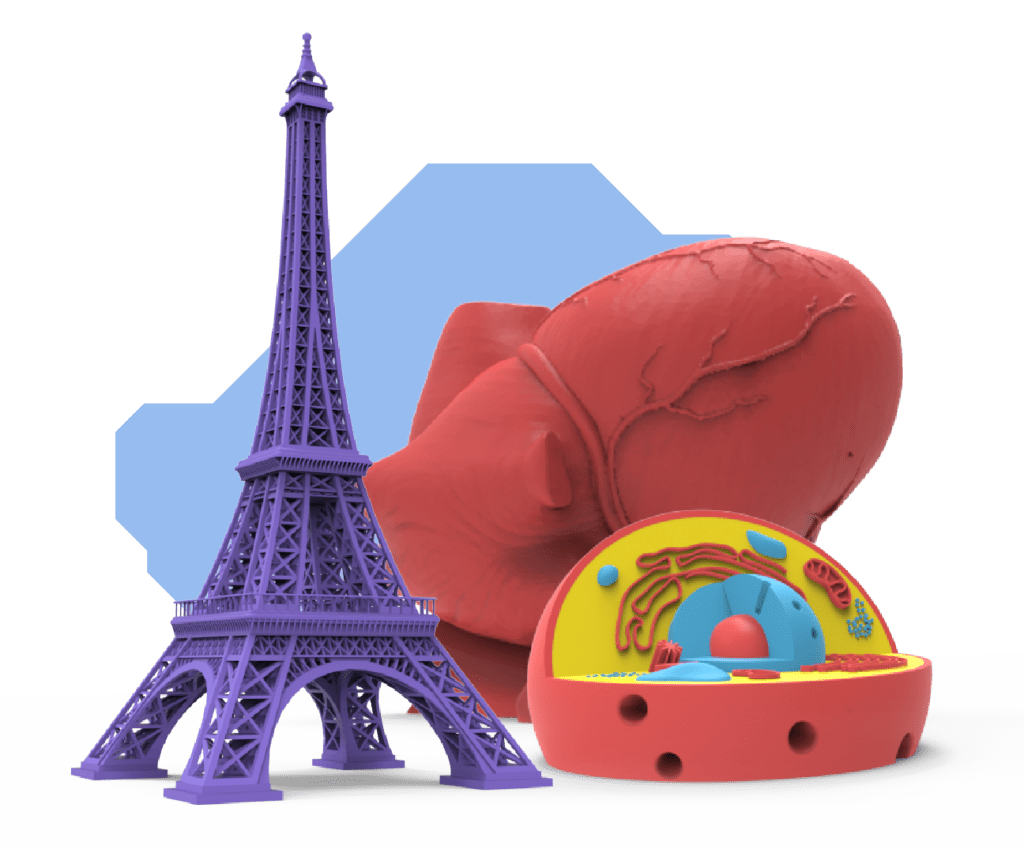
What can be printed with a 3D printer?
We can print an endless list of items on a 3D printer. It all depends on how large a print area we have and what material we want to print. In fact, we can print all kinds of biological, chemical, and geographical models, souvenirs, gadgets, trophies, or figurines from PLA at school. It is common to print various types of casting moulds or prototypes. Houses, bridges, and even dental implants are created using 3D printing technology around the world!
3D printing – 3D printer alone is not enough
In 3D printing, the printer alone is obviously not enough. Firstly, we need a 3D model that we want to print. We may create it independently by designing it in a 3D modelling software or using a database of ready-made 3D models, such as Skrimarket. So, we need a computer with Internet access and one of these tools. The 3D printer should be plugged in, and if we want to easily upload a selected model, it should also be connected via Wi-Fi to our account at Skrimarket. If we do not have this option, we upload the model to a memory stick or a SD card that is inserted into the appropriate slot in the printer and select the appropriate option on the screen, i.e., the printer interface. Ultimately, we need the filament to print. A spatula and pliers will also come in handy, making it easier to remove the model from the print bed and clean off the material that supports some of the elements of the printout (the so-called support).
If you want to book the Skriware demo lesson for your school do not hesitate to contact us at [email protected]!
